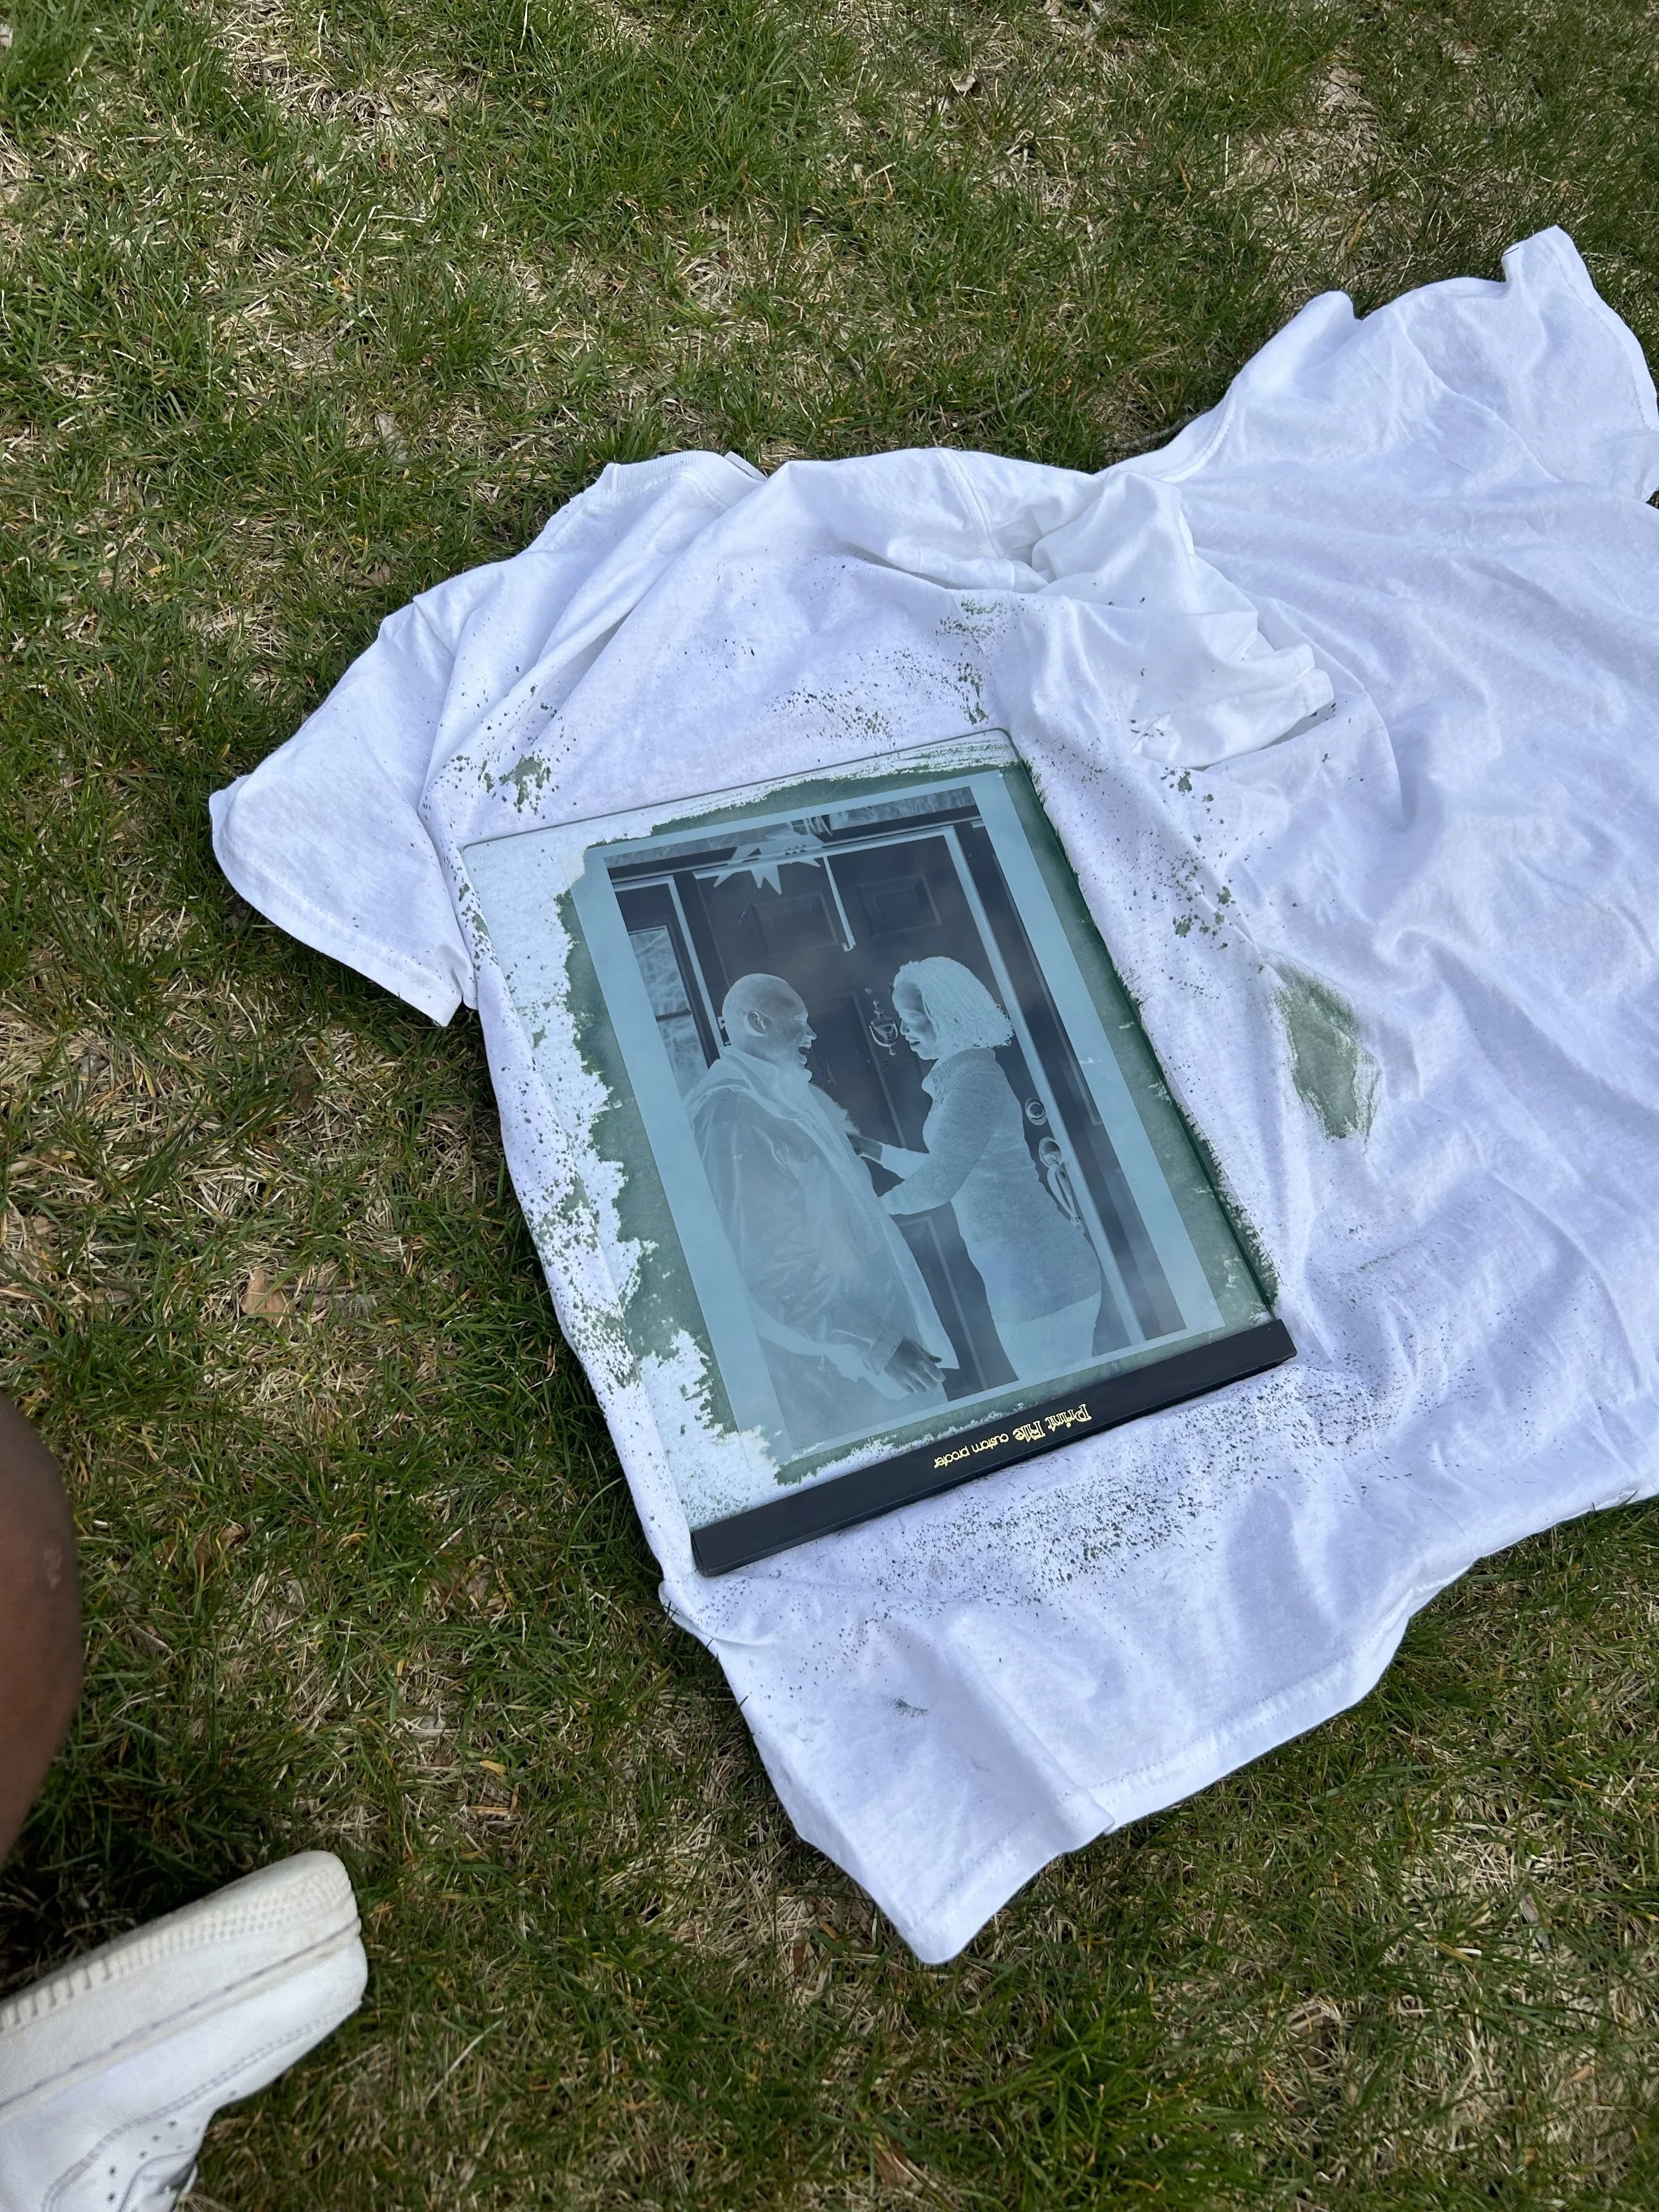
Materials:
Solution A - ferric ammonium citrate
Solution B - potassium ferricyanide
100% Cotton shirt/material
Paint Brush
Glass pane
Photo negatives
Hydrogen peroxide
Part 1 - preparing the canvas
Mix solution A and solution B in a 1:1 ratio together in a dark room, (once mixed the solution should not see sunlight)
Lay out shirt or cotton material flat on a desk or table
Brush the mixed solution onto the shirt (everywhere that’s painted will become blue unless covered when exposed to sunlight)
Leave the material to dry in a dark place for at least 24 hrs or until the material is fully dry.
Part 2 - Printing the photo
Take the dried material and lay it out, placing the negative image on top of the solution painted section of the shirt.
Place a glass pane on top of both the shirt and negative in order to prevent movement during the printing process.
Take outside and place in direct sunlight with the negative image side up.
Any exposed green spots will turn blue in sunlight
Let set until color has changed to a dark green or until time is up (see timing notes)
Timing notes - the amount of time the material should spend in sunlight will depend on the UV index (how bright it is that day)
For an index of about 1-2 it will take about 12 -18 minutes
For an index of about 3 - 5 it will take about 6 - 10 minutes
For an index of about 6 - 8 it will take about 3 - 5 minutes
After the material has changed color take the shirt, negative, and glass apparatus back inside or away from UV light.
Part 3 - Finalizing the work
Gently rinse the shirt/cotton material with water in a sink or container.
Scrubbing lightly may help to reveal some detail (if you over scrub, you may lose parts of the image)
In a separate container gently rinse the shirt/cotton material with water and hydrogen peroxide, about an oz or less of hydrogen peroxide.
Using hydrogen peroxide creates a darker/more vibrant blue color (optional depending on the shirt look you're going for)
Dry the finished and washed shirt for 24hrs or until completely dry.


